
I’ve been using the Fuji X70 for about a month now and have found it to be one of the best all-around cameras I’ve ever used. However, I am very fond of film simulation modes, but have never been able to get it working on auto mode reliably enough for me. So here are some tips on how I’m dialing in an ISO setting that works great with my favorite film simulations!
Check your camera’s manual
If you have a manual camera, check your camera’s manual. The ISO setting is usually displayed on the front of your camera, near the shutter speed and exposure compensation dials.
If your camera allows for displaying ISO on auto film mode, then you should be able to see it in its menu settings or in another way that isn’t obvious (like looking at how many shots are left until you can change this setting).
Access the settings menu
To access the settings menu, press the shutter release button. Then, press the menu button and keep it depressed until you see a gray bar with an “OK” button in it. You can also use these steps:
- Press up arrow
- Press down arrow
- Touch left edge of touch screen
Find the ISO setting
To display the ISO setting, follow these steps:
- Turn on your camera.
- Go to the “Settings” menu and select “Custom Setting”. This will open a list of options that can be changed by using different buttons or touchpad controls on your camera’s body.
- Find and select “Auto ISO” under Auto/Manual mode (if there is no option called this, then Auto is used). If you’re using an older camera with no touchpad or touchscreen interface, you’ll need to press Enter when it says “OK”.
Check if the camera allows for displaying ISO on auto film mode
If you’re new to digital cameras and are having trouble finding the “ISO” setting, it may be because your camera doesn’t allow for displaying ISO information on auto film mode. To check this, look through your manual or Settings Menu. If there is no option to display ISO in those menus and dials are grayed out instead of green, then you’ll need to follow the instructions below:
- Open up the LCD screen of your camera by pressing [Menu].
- Scroll down until you find “Display.” This will show all of the different settings that affect how our LCD screens look like – brightness levels (high/low), contrast levels (high/low), color balance settings etc… The ISO symbol should appear just above where it says “Display.”
Exit the settings menu
The next step is to exit the settings menu. You should now be able to see if your camera allows for displaying ISO on auto film mode. If not, then you can try adjusting the film speed and ISO settings manually by following these steps:
- Select Manual Mode from your camera’s mode dial.
- Set a new value for shutter speed (1/60 sec or some other setting) and adjust exposure compensation as needed based on how bright or dark your subject appears in relation to its surroundings.
- Set an appropriate ISO (200, 400 or 800). If this doesn’t work for you either:
Check the display
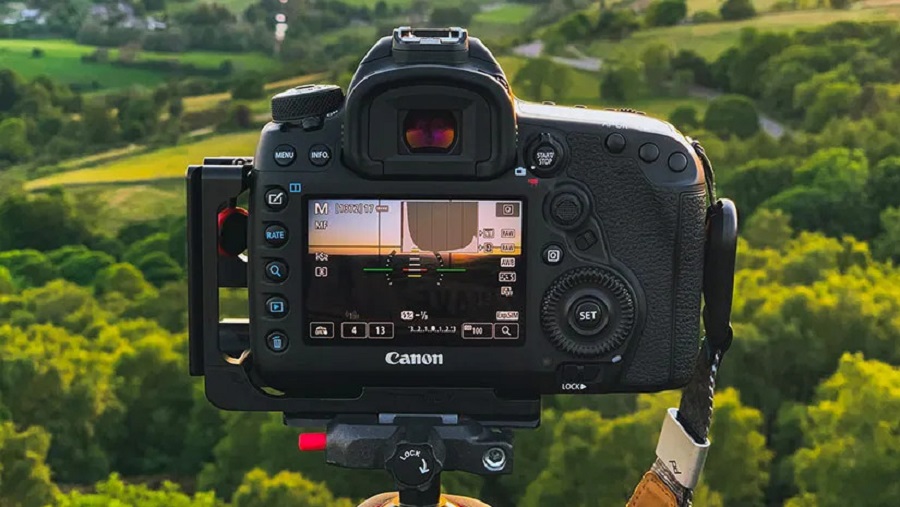
If you want to check the ISO setting, go to the camera menu and select “Auto” or “Manual.” The display should show an image with a number on it. The number corresponds with your current ISO setting.
If you want to check the exposure, you can use a custom white balance. Go to your camera menu and select “Custom WB.” If you turn on the display, it will show a white field in the center of the screen. This is what your current custom white balance should be. That’s how different light sources (such as incandescent bulbs or halogen lamps) affect your image. If there is a number next to this setting, then click on it and make sure there are no numbers below that number. This setting is where you find daylight, cloudy skies or any other type of lighting your camera sees during shooting time.
Conclusion
So, let’s recap. We have learned that there are three different ways to display an ISO setting on Auto Film Mode: Auto ISO, Auto ISO Plus and Auto ISO Plus II. In this article we have discussed the first two methods in detail, but now it’s time for us to move on and talk about how you can use any of these settings in order to get better shots without having any trouble with exposure or white balance!