
Throughout history, humans have been captivated by the beauty and intriguing complexity of the natural world. The lush green foliage, the blooming flowers, and the towering trees have always fascinated us photography. Plants hold a special place in our hearts among all the natural wonders. They represent life, growth, and vitality, and their mere presence can transform a barren landscape into a thriving ecosystem. In addition to their aesthetic appeal, plants provide numerous benefits to humans, including purifying the air, producing oxygen, and providing food and medicine.
The intricate patterns of their leaves, the delicate petals of their flowers, and the sturdy trunks of their stems are a testament to the incredible diversity and resilience of the natural world. Whether we’re admiring a garden, taking a walk in the forest, or simply gazing out the window at a potted plant, plants remind us of the wonders of nature and the interconnectedness of all living things. Capturing their beauty through plant photography allows us to share those feelings with others and create lasting memories of the plants that bring joy into our lives.
An Introduction to Plant Photography
Plant photography refers to images that focus on portraying plants as artistic subjects. This includes everything from close-up shots of flowers to landscapes featuring gardens and natural flora. For many photographers, plants make an ideal subject because of their intricate details, variation of colors and textures, and the emotions they can evoke.
Some common types of plant photography include:
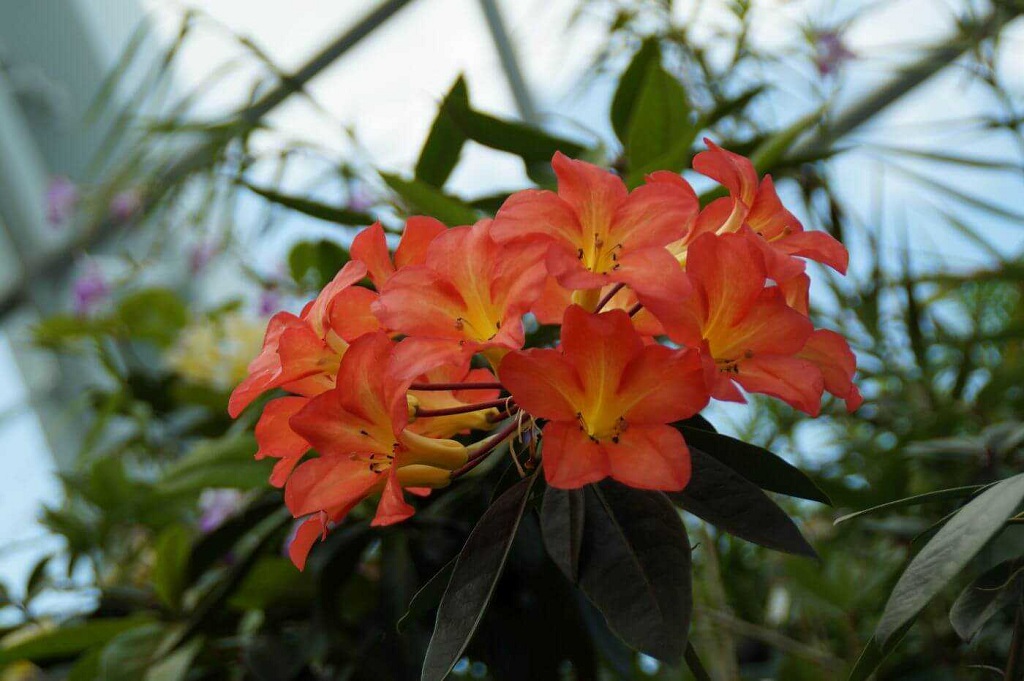
- Flower Photography – Capturing the vibrant colors and delicate details of flowers. They can range from single blooms to fields of wildflowers.
- Garden Photography – Featuring cultivated plants and landscaping. It may include overall garden shots, arrangements, and close-ups.
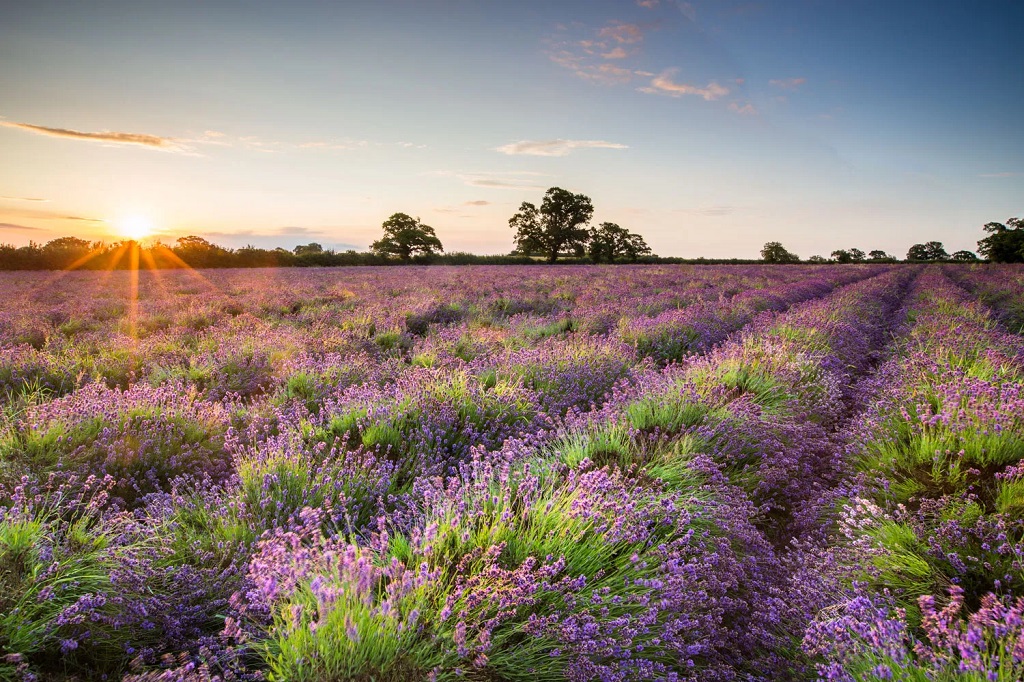
- Landscapes – Using naturally occurring greenery as a backdrop or focal point. Think forests, meadows, botanical gardens, etc.
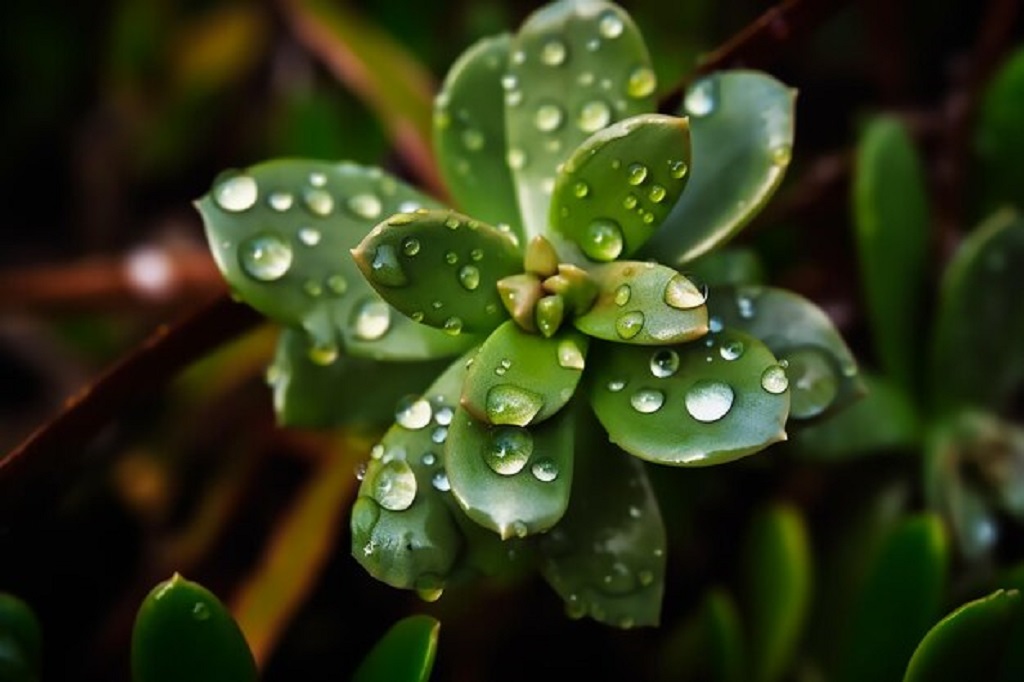
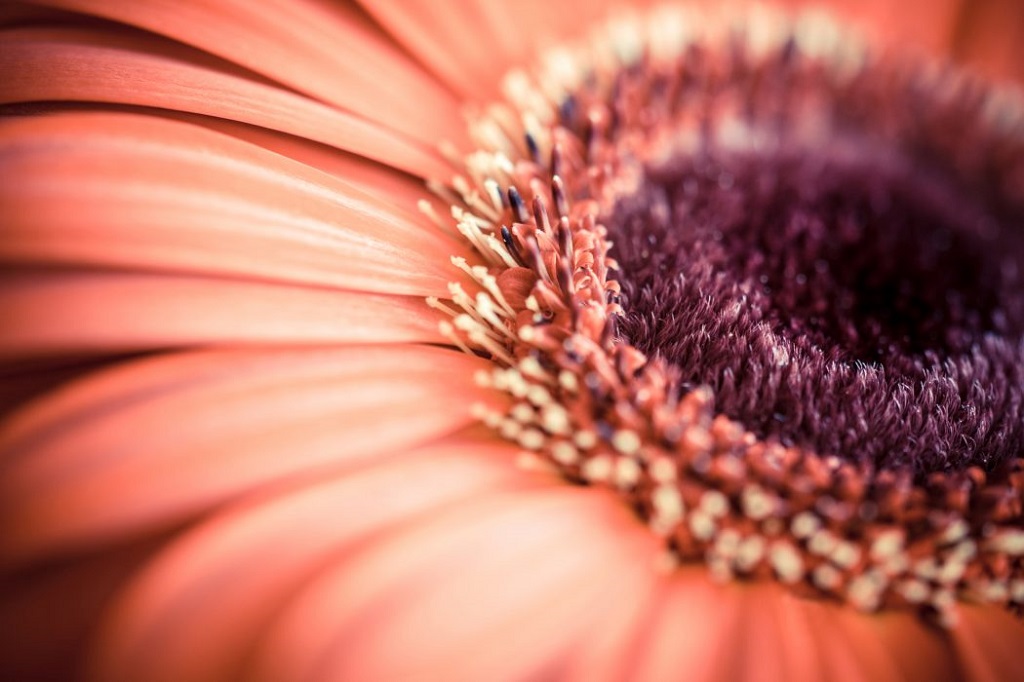
- Macro Photography – Extreme close-ups of plant parts like leaves, petals, stems, etc. Allows intimate exploration of details.
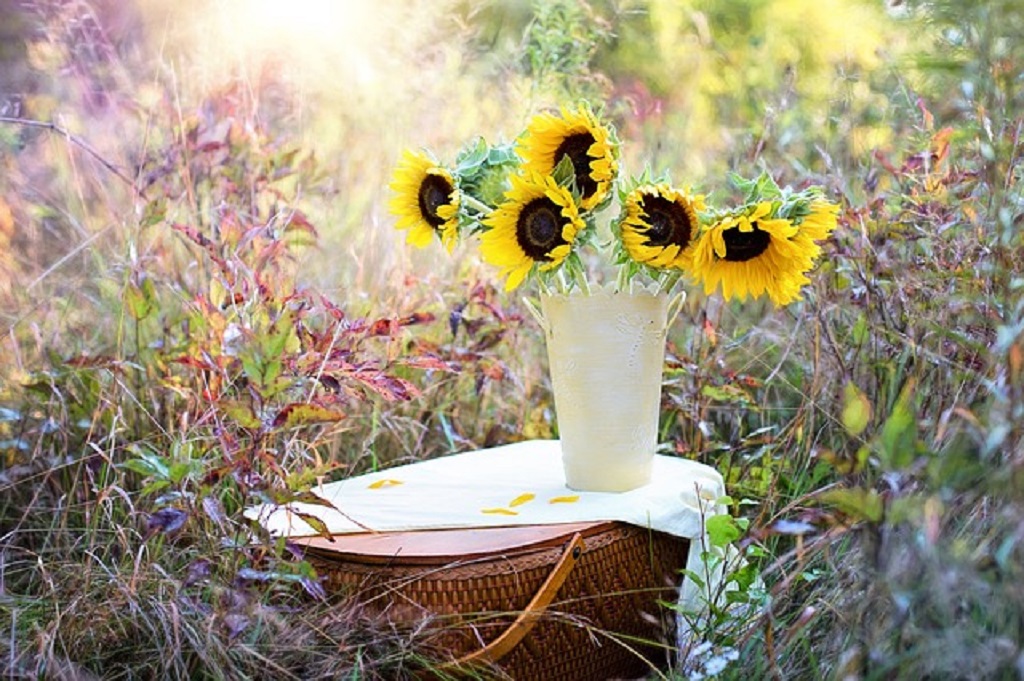
- Still Life – Using cut or potted specimens to arrange an artistic composition. Can highlight textures and colors.
The wonderful thing about plant photography is that pros and hobbyists can enjoy it. All you need is a camera and a curiosity about the natural world. Let’s explore some tips for capturing stunning shots.
Gear and Equipment
High-end equipment isn’t essential for quality plant photography. Many spectacular shots can be achieved with entry-level DSLR cameras, compact point-and-shoot models, or smartphones. However, some items can help expand your photographic capabilities:
- Interchangeable Lens Camera – Allows you to experiment with specialty macro and zoom lenses. DSLR or mirrorless cameras offer this flexibility.
- Macro Lens – Designed to capture extreme close-ups. Ideal for flower parts and details. Extension tubes can also increase magnification.
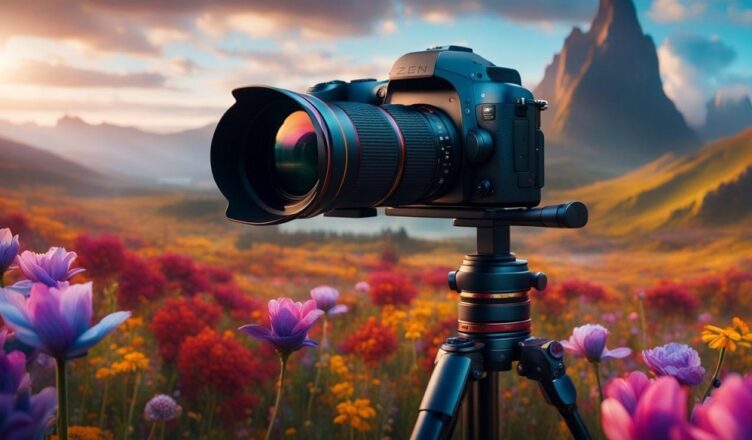
- Tripod – Helps stabilize the camera for sharper shots, especially in low light and when using slower shutter speeds.
- Remote Shutter Release – Reduces camera shake from pressing the shutter. Useful for macro shots. It can be cable or wireless.
- Reflectors and Diffusers – Used to manipulate natural light. Help direct or soften sunlight.
- Backdrops – Colored paper, fabric, etc., can make neutral backgrounds for macro photography.
Don’t be intimidated if you don’t have pro-level gear. Visit a botanical garden or leaf through plant photography books for inspiration and ideas you can recreate.
Composition and Style
A huge part of achieving eye-catching plant photographs is creative composition and style. Here are some tips for making conscious choices:
- Perspective – Shoot from different angles and heights to achieve a unique point of view. Go macro for intimate details or pull back for grand garden scenes.
- Leading Lines – Use linear elements like fences, paths, flower beds, etc., to draw viewers into an image. Curving lines create movement.
- Patterns and Shapes – Repeating elements like leaves or geometric garden features make strong focal points. Use sloping lines or S-curves for dynamism.
- Color – Monochromatic palettes can provide a cohesive impact. Complementary or contrasting colors may visually pop. But don’t discount green!
- Texture – Create visual interest by highlighting the tactile qualities of plants. Try side-lighting leaves or rose petals.
- Negative Space – Allow open space areas in a frame to let the main subject stand out. Provides breathing room.
- Rule of Thirds – Mentally divide images into vertical and horizontal thirds. Place key elements at intersecting points, not dead center.
- Depth of Field – Use selective focus to accentuate certain plants or sharpen entire landscapes. Aperture controls this.
Practice these compositional techniques when scouting shooting locations. Moving yourself or the camera around can dramatically change the look of a photo.
Tips for Shooting Flowers
Flowers are undisputedly a favorite photography subject, from vivid exotic blooms to pastel rose buds. Here are some ideas for fabulous flower shots:
- Shoot in the morning or evening when the light is softer. Mid-day sun can create harsh shadows.
- Use fill flash to illuminate shaded areas of a flower and bring out vivid colors.
- Choose a plain or blurred background to make colors pop. Or go for an exciting backdrop like foliage.
- For bouquets, fill the frame by getting close. Wider shots can also showcase arrangements.
- Try holding flowers gently or propping them up with clear rulers orpins. Avoid a crushed or wilted look.
- Focus precisely on the stamen, pistils, and other interior flower parts for abstract-looking macro images.
- Capture the graceful movement of flowers blowing in the wind. A slower shutter speed conveys motion.
- Experiment with silhouettes and backlighting to create dramatic moods and highlights.
Pay attention to lighting, angles, and everything happening in the frame beyond just the central flower. Backgrounds, supporting elements, and post-processing can all take a nice photo to the next level.
Photographing Gardens and Landscapes
Garden spaces and natural landscapes allow so many creative compositions. When planning these shots:
- Use wide-angle lenses to emphasize the expansive scope of a landscape. Or get intimate with telephoto zooms.
- Capture gardens at “golden hour” – early morning or late afternoon – for magical lighting.
- Try shooting inside a gazebo or doorway to frame the scene through an entry point.
- Irregular, asymmetric shapes create natural-looking compositions. Avoid too stiff or too perfect.
- Lead viewers through the image with winding paths, converging lines, and directional features.
- Give a sense of scale by including people, benches, or decorative elements for perspective.
- Harness natural light for dramatic dappled effects under trees or backlit leaves.
- Panoramic formats convey the breadth of garden vistas or dense forests.
- Capture lush green scenes from high vantage points like terraces or staircases.
With landscape shots, staged human elements tell visual stories. Have someone strolling through the scene to create a sense of movement and scale. Let the plants’ lighting, colors, and textures speak for themselves.
Post-Processing Tips and Ideas
After you click the shutter through post-processing, part of elevating your plant photographs happens. Some quick tips:
- Boost contrast and vibrance: Make colors pop while keeping things looking natural.
- Sharpen details: Bring out intricate veins, stamen, fuzzy leaf edges, etc.
- Selective editing: Deepen the green tones for richer foliage or intensify flower colors.
- Natural light correction: Fix harsh shadows or blown-out highlights that hide texture.
- Creative crops: Zero in on perfect compositions in post based on the rule of thirds, leading lines, etc.
- Lens correction: Compensate for distortion caused by lenses, like barreling and fringing.
- Noise reduction: Minimize graininess in low-light shots.
- Black and white conversion: Give a timeless, artistic look, drawing attention to form and shape.
Don’t be afraid to experiment with filters, textures, vignettes, and other photo editing techniques. Just try to avoid over-processing the life out of your images! Subtlety goes a long way.
Finding Inspiring Plant Photography Locations
Chances are you need to look no further than your backyard, neighborhood park, or local nature preserve to find beautiful plants to photograph. But if you want to venture further afield, here are some prime spots:
- Public Gardens – Designed spaces like botanical gardens, arboretums, conservatories, and university research gardens offer varied specimens and landscapes.
- Nurseries – Often have display gardens perfect for macro flower shots and exciting arrangements.
- Nature Reserves – Find native species and undisturbed tableaus far from the city bustle.
- Farms – Fields of seasonal crops, orchards, and pick-your-own flower patches provide pastoral settings.
- Historic Homes/Estates – Majestic heritage gardens full of heirloom varieties, fountains, sculpture, and architecture.
- Hiking Trails – Wandering paths snake through forests and meadows with natural backdrops.
- Highway Medians/Cloverleafs – Oddly great for exciting views of wildflowers and native grasses.
Scope out locations during peak growing seasons and hours when lighting is best. Gardens and nurseries often have events, festivals, and shows that make for lively photos.
Different Plants to Photograph
Beyond essential flowers, trees, and shrubs, there are so many fascinating types of plants that make for beautiful photographic subjects, such as:
- Succulents – Sculptural, textural appeal from echeveria, cacti, aloe, and more with plump leaves and geometric shapes.
- Tropical Plants – Lush, oversized leaves, colorful patterns, and exotic blooms. Try orchids, elephant ears, and birds of paradise.
- Carnivorous Plants – Visually intriguing traps and mechanisms of pitcher plants, venus flytraps, sundews.
- Mushrooms – Dappled light filtering through a forest showcasing otherworldly fungi.
- Conifers – Majestic pines, firs, redwoods, and junipers that evoke the northern wilderness.
- Bonsai – Miniature sculptures creating stunning composition and detail.
- Ambient Scenes – Not just plants alone, but vignettes like a windowsill herb garden or tools in a shed to tell a story.
Once you start looking, you’ll spot fabulous plant photography motifs everywhere. Keep an open mind when composing shots.
Getting Creative With Plant Photography
Don’t limit your plant photography to straightforward documentary-style shots. Some ways to get creative with your approach include:
- Abstract macros – Isolate sections and textures for artful patterns and designs. Try shadows and reflections, too.
- Unusual angles – a Worm’s eye view from underneath a flower or tilted diagonally- make the mundane look extraordinary.
- Lower or higher camera settings – Unique visual distortions emerge from long exposures, pinhole cameras, or frenetic bursts.
- Alternative processes – Cyanotypes, solargraphs, and emulsion lifts offer antiquated effects.
- Forced perspective – Use optical illusions to play with scale. Make a bloom look gigantic next to a person.
- Incorporate props – Staged with objects like tea cups, books, artwork, and fabrics—Infuses personality.
- Floral crown/outfits – Adorn models with actual flowers and plants for a whimsical nature theme.
- Still life tableaus – Snip and arrange flowers, leaves, and fruits into pleasing compositions and decorative displays.
Let your creativity run wild! Photography is part documentation and part art. Don’t be afraid to experiment with unconventional techniques and concepts to add your unique stamp to plant portraits.
Mastering the Art of Plant Photography
Like any skill, exceptional plant photography comes with practice and passion. Be patient in seeking the perfect specimens, lighting, timing, and vantage points for shots. Study professional photos and books for inspiration on flattering techniques and unconventional perspectives. Know your camera equipment and manual settings inside and out.
Above all, maintain a sense of wonder and intimacy with nature. Immerse yourself in the tranquility of gardens, forests, and meadows. Observe how sunlight filters through petals at different times of day. Feel the textures of leaves and delicate unfurling fern fronds. Notice the spirals, patterns, and myriad colors. This mindset will come through in your images.
By working to capture beautiful, evocative portraits of the natural plant world around you, you are cultivating creativity, spreading joy, and honoring nature’s inherent artistry. Just remember to enjoy the journey! The more you shoot, the more your skills will blossom.
Frequently Asked Questions
What camera do I need to take good plant photos?
You don’t need an expensive DSLR. Many stunning plant photos can be achieved with entry-level cameras, mirrorless models, or even smartphones that allow you to control focus and exposure. Macro lenses help capture details but can be mimicked with add-on lens kits. Most importantly, learn to maximize the features of whatever camera you have.
What time of day is best for shooting plants and flowers?
Early morning and late afternoon sunlight is ideal when the light is soft, and shadows aren’t too harsh. Midday light can be too bright and direct. On overcast days, you can photograph plants all day. Schedule shoots for peak bloom seasons.
How can I get the best background for plant photos?
Blurry, plain backgrounds like grass or sky let the subjects stand out. Or choose complementary backgrounds like contrasting flowers or foliage. Portable backdrops can be used, too. Experiment with angles and framing to include or exclude surroundings creatively.
What camera settings should I use?
Consider manual settings—lower ISO for less noise. Higher f-stops like f/8 or f/11 provide good depth of field for landscapes. Adjust the shutter speed to control the motion blur of moving plants. Use macro mode for super close-ups. Enable burst mode to get multiple shots quickly.
How can I get dreamy, ethereal plant images?
Try long exposure and motion blur techniques. Use wide apertures for a narrow depth of field. Backlighting creates lens flares. Capture morning mist and fog—post-process with texture overlays, vignettes, and desaturation for a moody look. Play with colors and lighting.
Conclusion
Plant photography offers a rewarding way to blend creativity with the natural world. There is always more to explore and discover in capturing the endless variety of textures, colors, and details of the plant kingdom. Follow your curiosity and passion tips to improve your photo editing skills. Pay attention to light and composition. Most importantly, embrace the calming joy of appreciating the natural beauty around you through your camera lens. With practice and dedication, you can master the art of plant photography and cultivate gorgeous images you will treasure.