

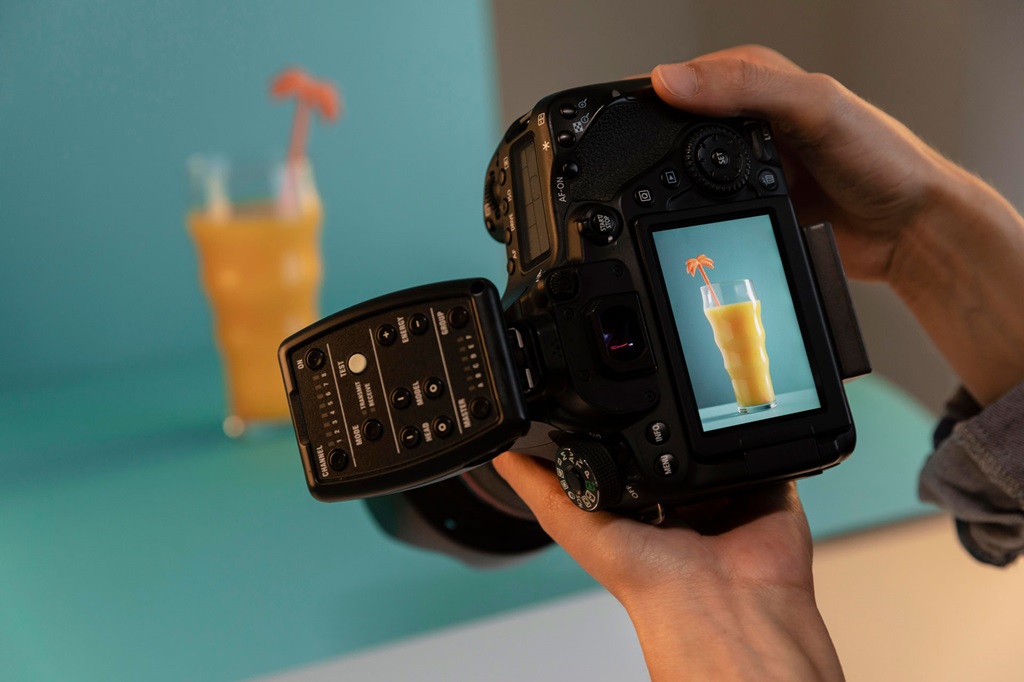
As an e-commerce business owner, high-quality product photography is crucial for conversions and sales. But great photography doesn’t happen by accident. E-commerce photography requires careful planning, execution, and post-processing to showcase your products in the best possible light (pun intended!).
In this comprehensive guide, I’ll walk you through my entire process for creating stunning e-commerce photography that helps drive sales.
Gear Up with the Right Ecommerce Photography Equipment
Having the right gear makes a huge difference in achieving professional-level product shots. Investing in basic equipment pays off exponentially in the quality of your images. Here’s the photography kit I recommend to get started:
Camera
A DSLR camera is ideal for capturing crisp, vivid product photos. Go for a mid-range model with at least 20 megapixels of resolution. Extra points for one with a full-frame sensor to maximize image quality. A mirrorless camera is also a solid choice if it has interchangeable lenses.
Lenses
For standard product shots, a nifty fifty (50mm focal length) prime lens gives you a sharp focus and beautiful bokeh. Add a macro lens to photograph small details up close. A wide-angle zoom lens lets you shoot lifestyle scenes.
Lighting
Continuous studio lights, strobes, and flashes allow you to sculpt the perfect lighting for products. Invest in some softbox or umbrella light modifiers to diffuse harsh shadows. Reflectors fill in shadows and add catchlights.
Backdrops
Seamless paper, fabric, wood, acrylic, and colored backgrounds create clean, consistent scenes for highlighting products.
Tripod
A sturdy tripod keeps your camera steady, preventing blurry shots. Look for one that extends up to 7 feet tall.
Remote trigger
Trigger your camera shutter remotely to avoid shaking and capture ultra-sharp shots.
Dial in Your Camera Settings
Navigating your camera settings helps you control the look of your photos. Here are some key settings to check:
- Shoot in Manual mode with a base ISO between 100-400 to minimize noise.
- Use a low f/stop like f/2.8-f/5.6 for that coveted bokeh effect.
- Shutter speed of 1/100th sec or faster freezes motion.
- Optimize white balance to match lighting temperature.
- Focus on product details with a short depth of field.
Light It Up Beautifully
Lighting can make or break your product photos. Pay attention to light direction, intensity, and color temperature. Here are some best practices:
Illuminate Evenly
Light the entire product evenly so there are no overly bright or dark spots. Side lighting defines shape and form.
Know Your Light Positions
- Main (key) light – Illuminates the main subject
- Fill light – Fills in shadows
- Backlight – Outlines subject and separates it from the background
- Reflector – Bounces light to soften shadows
Watch the Background
Make sure the brightness of the background complements the product. A blown-out background lacks definition.
Check for Catchlights
Catchlights (reflected light in the eyes) bring toys and other products to life. Add a reflector or extra light source to create them.
Soft Modifiers are Key
Use modifiers like softboxes, umbrellas, or diffusers over harsh lights for a flattering effect.
Style Your Product Shots
Creative styling elevates your product photos from boring to eye-catching. Here are some easy styling tips:
Show Product Use
Lifestyle images depict your product in realistic settings. Show people using/wearing your items.
Demonstrate Scale
Photograph products next to familiar objects to demonstrate size and scale. A phone shows how compact a device is.
Hyper-Organize
Perfectly aligning objects adds pleasing organization and symmetry. Stacked books and lined-up tools look sharp.
Pop of Color
Complementary colored backgrounds make products stand out. Vibrant props add visual interest to a scene.
Play with Textures
Natural elements like wood, marble, greenery, etc. add organic texture. Layer different textiles for depth.
Get Creative with Angles
Shoot from above, below, or the side for unique perspectives. Details and irregular shapes look cool at an angle.
Optimize Your E-commerce Photo Editing
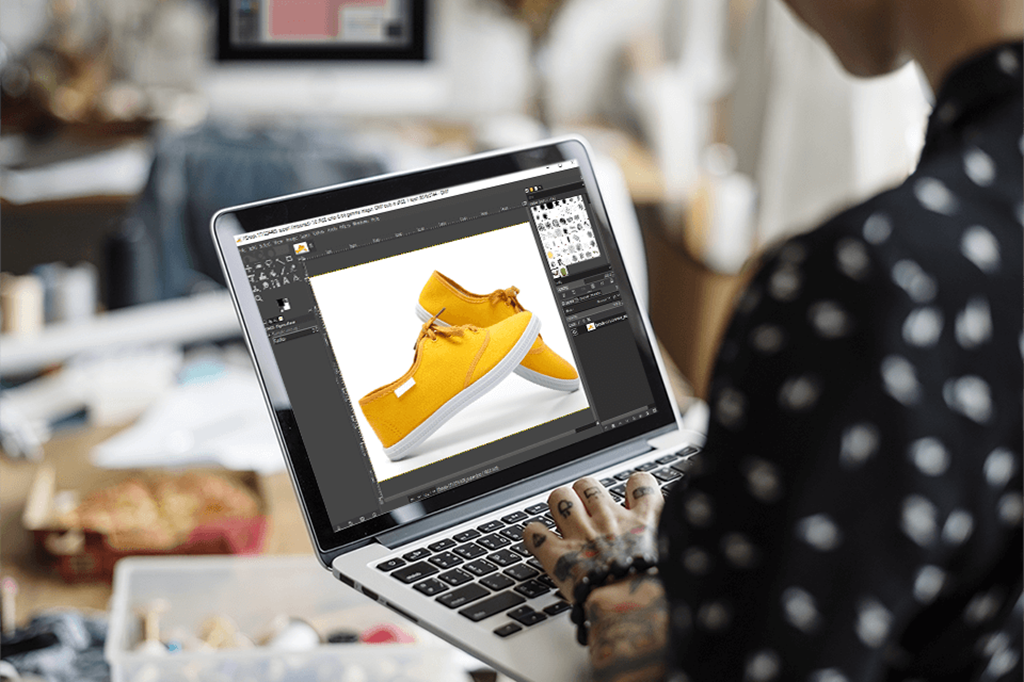
Post-processing your product images in photo editing software helps you polish them to perfection. Here are some key e-commerce photography steps:
Curate Your Selection
Pick your 5-10 best shots per product. Delete blurry, duplicated, or unusable photos.
Adjust Exposure
Fix brightness, contrast, shadows, and highlights to balance the exposure.
Refine Color
Make subtle saturation, temperature, hue, and vibrance adjustments for appealing color.
Sharpen Details
Carefully increase sharpness to bring out details without over-sharpening.
Remove Background
Cut out the product and place it on a pure white or lifestyle background.
Enhance Eyes
Brighten eyes, increase contrast, and accent catchlights on toys/dolls.
Save and Export
Save edited versions as JPGs at the largest file size possible for web use.
Take Your Product Shots to the Next Level
You can achieve next-level e-commerce product photography with a few advanced techniques:
Focus Stacking
Taking multiple shots focused at different distances merges everything into sharp focus. This works great for close-ups.
Compositing
Combine elements from multiple product photos for the perfect image. Swap out a background or prop.
Clipping Paths
Isolate products by cutting them out precisely for a sophisticated look. This removes all background.
Shoot Tethers
Tether your camera to a computer to review images on a large screen right away and make adjustments on the fly.
Rent Gear
No need to buy specialty equipment for niche shoots. Rent lenses, lighting, backdrops, props, etc. just for the project.
Outsource Editing
Send photos to a professional photo editing company to retouch if you don’t have the time or skills.
Troubleshoot Your E-commerce Product Photos

When product shots don’t turn out as expected, use these tips to troubleshoot:
Blurry Photos
- Use a faster shutter speed, tripod, remote trigger, and mirror lock-up mode to prevent motion blur.
Overexposed Images
- Reduce ISO, shutter speed, and aperture for proper exposure. Add diffusers to soften lighting brightness.
Underexposed Photos
- Increase ISO, shutter speed, and aperture to let in more light. Add reflectors.
Distracting Backgrounds
- Use a wider aperture for a narrower depth of field to blur backgrounds. Clean up clutter.
Unnatural Colors
- Adjust white balance, use color gels on lights, and calibrate your monitor.
Lackluster Lighting
- Switch lighting placement and intensity. Use larger light sources for softer shadows.
FAQs
What camera should I use?
DSLR and mirrorless cameras are ideal. Look for at least 20MP resolution and interchangeable lenses. Popular models are the Canon Rebel series, Nikon D3500/D5600, and Sony a6000/a6400.
How much space do I need?
A few feet on each side of a small 2×2′ shooting area is sufficient. You can shoot in a corner of a room. Garages and large spaces allow more flexibility.
What’s the best lighting for beginners?
Continuous studio lights are easy to use and adjust. Strobes/flashes offer more power. Softboxes and umbrellas create flattering light.
Should I edit photos myself or outsource?
It’s cost-effective to learn basic editing yourself using Lightroom or Photoshop. Outsource complex editing like background removal to photo editing companies.
How many photos should I take per product?
Take 15-30 photos per product with varying angles, props, close-ups, etc. Narrow it down to 5-10 best shots for your e-commerce site.
Wrap Up
Following this complete photography process will help you create stunning product images that make your e-commerce photography site shine. Invest in some starter gear, learn technical and creative skills, and keep practicing. You’ll be shooting professional-quality product photos in no time that capture attention and drive conversions.