
The sun – that massive, raging ball of gas that gives us all life. Over a million Earths could fit inside it. Temperatures on its surface reach 10,000 degrees Fahrenheit. It’s beautiful, powerful, mesmerizing.
And impossible to look at with the naked eye without seriously damaging your vision.
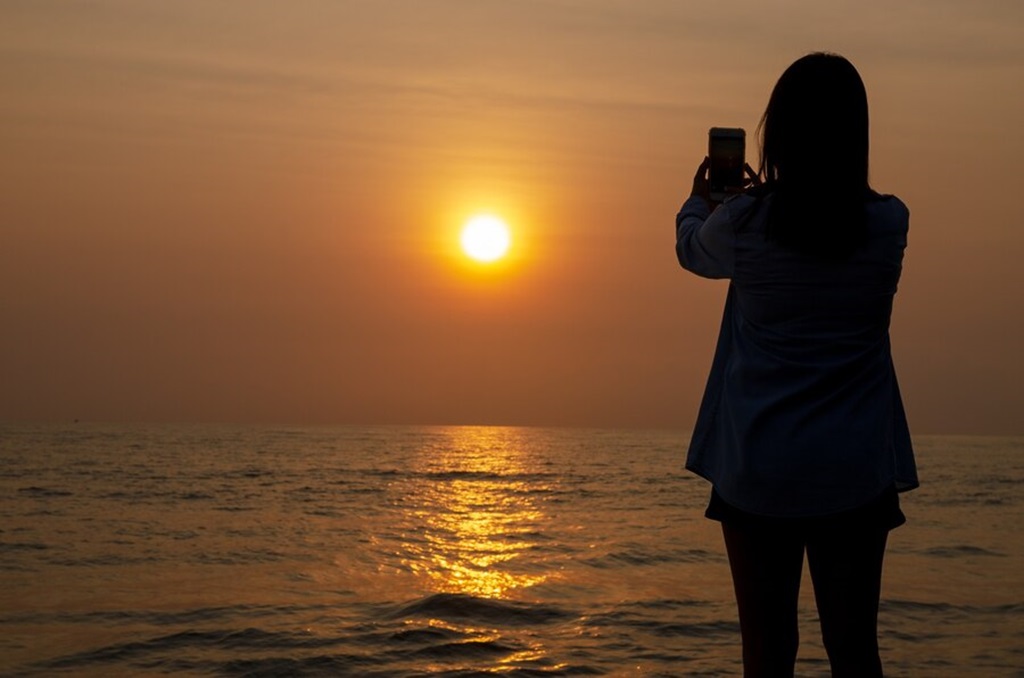
But with the right gear and some technique, you can not only look at our closest star, but you can photograph it in all its glory. Capturing incredible sunrises, sunsets, sun flares, and more. From fiery high-in-the-sky shots to photos of sunlight dappling a forest floor.
Intrigued? Want to start incorporating our life-giving star into your images? Read on for tips from one landscape photographer to shooting the sun perfectly.
Choose the Right Time of Day
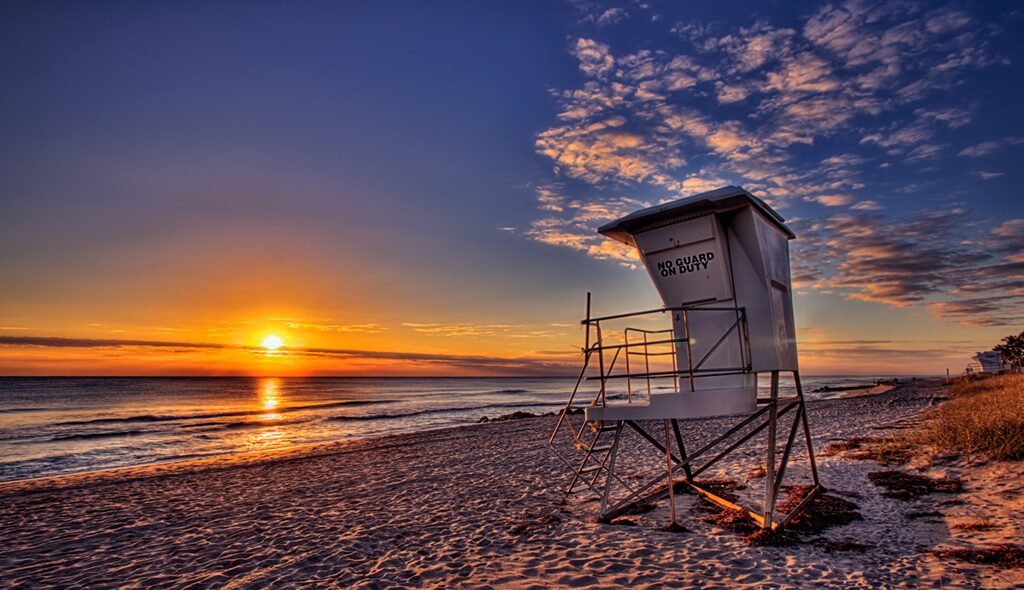
As with most landscape photography, timing is everything when it comes to photographing the sun. The hours around dawn and dusk often produce the most stunning solar scenes with gentle, glowing light.
Of course, there are no hard and fast rules. Experiment by shooting the sun at different times of day to see the vastly differing results. Just know that midday shots typically produce harsh contrasts and midday shadows may obscure some detail.
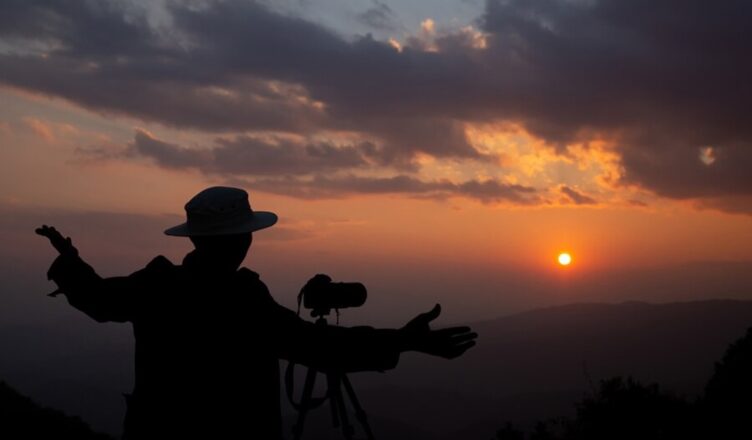
The Golden and Blue Hours As the sun sinks towards the horizon in that magical time before sunset or after sunrise, its light takes on a warm, golden tone that casts a gorgeous glow over the landscape.
In the blue hour, just before sunrise or after sunset, the world takes on a peaceful twilight hue.
These golden and blue hours are perfect times for shooting sunrays streaming between clouds or trees. The low angle of sunlight creates eye-catching beams and interesting shadows.
Just know that the intensity of the sun increases exponentially the closer it gets to the horizon. So be extra prepared with filters and other protection (more on that later) when photographing sunrise or sunset.
Time Your Shoot for Epic Conditions
Along with watching the time of day, keep an eye on weather conditions for interesting photo shooting opportunities like:
Dramatic clouds – Look for puffy cumulus clouds or high-wispy cirrus clouds to make your sunlight photos pop even more. Backlighting from the sun peaking around or between clouds makes for striking shots.
Fog and mist – If fog rolls in near sunrise or sunset, the muted atmosphere when combined with warm sunlight filtering through can make for magical, mystical images.
Rainstorms – After a storm rolls through, peeks of sunlight streaming between parting clouds over a glistening wet landscape is simply stunning.
Dust storms – For a really dramatic sunlight effect, a dust storm diffuses light in amazing and unusual ways. Be prepared to position yourself upwind for clear shots and watch your gear.
Snowscapes – The sun’s rays glancing off a fresh blanket of snow can nearly blind you even without looking directly at it. But it creates a fantastical sparkling fairytale world ideal for photography.
Moonscapes – Try photographing the sun superimposed against a full moon right after sunrise or just before sunset. When exposed properly, you can achieve the illusion of the sun shining brightly at night.
Keep the sun positioned where you want it in the frame by scouting locations ahead of time using smartphone apps that show solar angles. That way, you know exactly where ol’ Sol will peek above the horizon.
Consider Compositional Elements
When composing any landscape photography, look all around the frame and utilize elements like:
- Symmetrical shapes like reflections in water
- Framing devices like trees, tunnels or arches
- Complementary or contrasting colors
- Patterns and texture
- Converging lines pointing to the sun
Also think about incorporating:
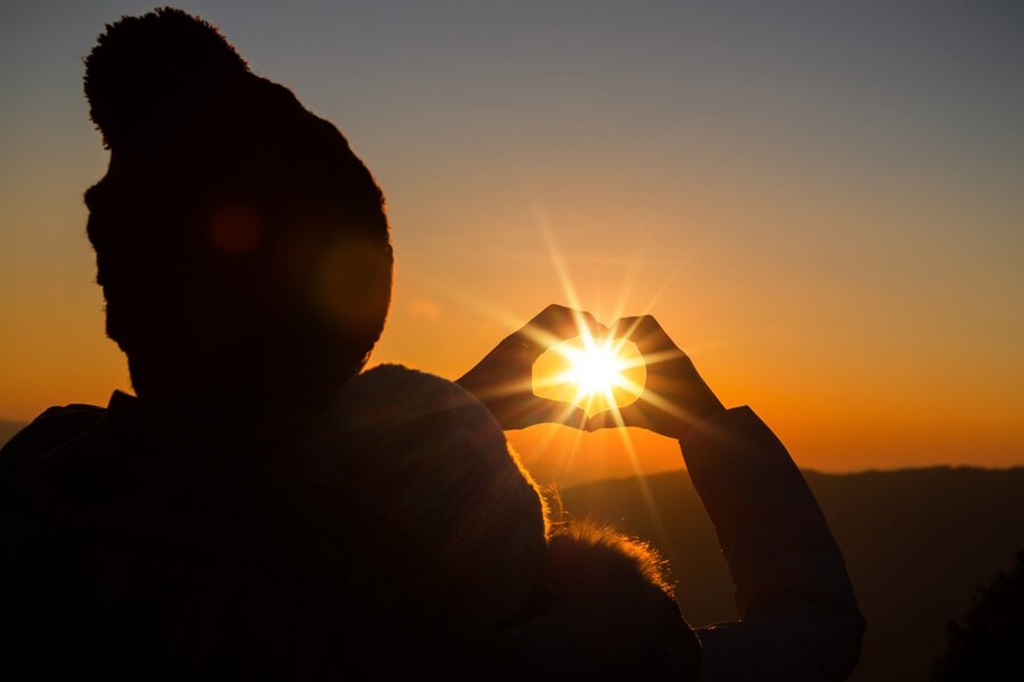
Lens flares and starbursts for extra dazzle by partially blocking the sun behind objects like leaves, tree branches, or a chain-link fence. A little goes a long way though. If overdone, it looks cheesy.
Back or side lighting behind objects like flowing water or wispy seeded grasses creates nice rim lighting on the shapes.
Shooting into shadows with the sun behind you can make unusual patterns and textures jump out.
When Helpful Filters Come In Handy
So how do you even look at the almost million-degree nuclear inferno in the sky long enough to photograph it without frying your eyeballs like eggs on a city sidewalk in August?
Physical lens filters literally filter out certain types of intense light. Shooting in HDR (high dynamic range) pulls detail out of shadows and prevents blowouts from extreme exposure levels the camera sensor can’t handle.
Here are some common filters and techniques to try:
Polarizing Filter: Polarizers remove specific sun reflections and glare. Especially effective in making blue skies even bluer when used at a 90-degree angle from the sunlight. Allows foreground detail to stand out against bright skies. One of the most popular landscape filters.
Neutral Density (ND) Filter: ND filters evenly reduce all wavelengths and intensities of light entering the lens. The darker the filter, the more light it blocks. Allowing for slower shutter speeds to create smoothing motion blur effects on objects like flowing water and clouds.
Graduated Neutral Density (GND) Filters: GND filters gradually transition from dark at the top to clear at the bottom (or sideways). Handy for darkening bright skies to even out exposures with darker foregrounds. Hard-edged GND filters transition abruptly. Soft-edge GND filters transition more gradually.
Solar Filter Sheet: Thin flexible plastic or glass coated with a special solar filter film blocks visible and ultraviolet light while passing infrared and hydrogen alpha wavelengths. Allowing details of sunspots and solar flares to shine through. Must be mounted in front of a lens or telescope. Do not use solar filters that screw onto lens fronts.
HDR Technique
Combine optimized multiple exposures (not just under and overexposed images) covering the entire dynamic range into one 32-bit floating point master file. Then tone map back down to a 16-8 bit image with shadow details and highlights recovered.
Post-Processing Magic
Shoot the camera raw whenever possible for maximum flexibility adjusting white balance, shadows and highlights, contrast, saturation, and sharpening later during editing. JPEG compression can produce artifacts and banding when pushing exposure limits.
Don’t fear creatively over-processing your sun photos. The sun itself is already such an extreme subject. Go wild with textures, glow effects, saturation, and more to amp up the intensity. Black and white conversion can also produce brooding dramatic sunstar images.
Just don’t destroy your originals in case you need to dial back the effect. And avoid lens flare filters in post-production – fake it ’til you make it only goes so far.
Gear Up Accordingly
Shooting directly at the sun demands gear built to withstand its intensity. Anything less risks damaging sensors or worse.
Here’s suitable gear for solar photography:
Full frame DSLR or mirrorless camera – Larger sensors render finer detail Sturdy metal lens – No plastic kit lenses! Adequate lens coverage – For entire solar disk to fit the frame Fast wide aperture lens – f/2.8 or faster Robust sturdy tripod – Critical for stable precise composition Sturdy shutter release cable or self-timer – Avoid camera shake Lens hood – Prevent flare and use as makeshift solar filter shield
And for Sun Shooting Safety:
UV Protective Eyewear – Protect eyes from exposure when not behind the camera Shade umbrella – Extra environmental shade from bright sunlight Lens cleaning supplies – Keep glass pristine and clean for best quality.
Microfiber cloths – Safely clean lenses without scratching
Rocket blower – Dust spots show dramatically in sun pics
Observe ALL Solar Safety Precautions
Never, ever, EVER look directly at the unfiltered sun! Unless you fancy going blind.
Seriously though, observing basic solar safety rules allows you to successfully shoot our neighborhood nuclear reactor in relative safe comfort:
Always keep filters securely mounted over lenses when pointed at or near the sun. Don’t try handholding filters.
Double-up filters for added protection.
Frequently inspect filters for holes, scratches, or looseness. Immediately stop shooting if issues are found.
Clean lenses impeccably if any filtered sunlight hits the image sensor. Dust spots badly burn onto the sensor.
When composing shots, hide behind a building, wall, or other total sun obstruction. Precisely set up framing before stepping aside to trigger the shutter.
Look only through the optical viewfinder when positioning the camera, not at the back LCD screen.
Hold a thick piece of cardboard as an additional shield when stepping into sunlight beams to check the camera.
Wear safety glasses rated for solar viewing when checking settings away from camera shade covers.
Consider investing in more hardcore solar scopes/filters if planning extensive sun photography.
The Magic Hour Beckons
As you can see, photographing our resident star requires some extra gear and steps compared to typical landscape shooting. But so very worth it!
There’s something otherworldly beautiful about frozen moments bathed in radiant golden light rays. Where time seems suspended in amber hues stretching towards the heavens.
So what are you waiting for? Dawn’s early light is just minutes away. There’s an epic fiery skyscraper with your name on it.
Time to gear up, plan that shot, and awaken your inner solar portrait artist. That sublime magical hour beckons your creativity.
Our life-giving sunlight awaits unveiling through your artful lens. Let’s catch some shadows and sunbeams together at sunset today! Just don’t forget those filters.
Conclusion
Photographing the sun properly and safely demands specialized gear and techniques. But spectacular results await those who observe solar precautions. Dawn’s early light brings magnificent opportunities to capture sunbeams filtering through the landscape. Just be sure to carefully filter sunlight from your eyes and gear at all times. And never stare directly at our resident nuclear reactor! Do that, and you’ll come away with eye-catching images boasting eye-opening sun flare effects.
FAQs
What is the best time of day to photograph sunlight?
The golden hours around sunrise and sunset when sunlight shines at an angle are often considered the best times to photograph the sun. The low altitude casts gorgeous golden light and long shadows. Sun higher in the sky tends to be harsher and overly bright.
Do I really need solar filters for sunlight photography?
Yes! Never point a camera lens at or near the sun without properly filtering the intense light first. Otherwise, you risk permanently damaging vision and camera sensors that cannot handle direct sunlight. Always use specially designed solar filters for viewing and photographing ol’ Sol.
What does a polarizing filter do?
Polarizing filters remove specific reflected light waves that cause glare and haze. Especially useful for enriching blue skies and seeing more detail in skies and clouds. Rotating the filter adjusts the polarization effect. They also cut through water surface reflections allowing you to photograph deeper under water.
How do neutral density filters help sunlight shots?
Neutral Density (ND) filters evenly reduce all types and intensities of light entering the camera lens by set amounts, measured in stops. They allow using slower shutter speeds to create soft, silky effects on moving elements like water and clouds even in full sun. Great for smoothing motion blur artistic effects.
Is an ultra-wide angle lens good for sun photos?
Because the sun only takes up a tiny portion of the sky, a wide angle or ultra-wide angle lens allows fitting the entire solar disk in the frame to show sunrays emanating across the whole sky. Just be aware of increased lens distortion the wider you go. Mind your filters to avoid uneven vignetting too.